

Woodturning + power carving
Carving Tools for Woodturners
Turn the form. Carve the character.
Add flowing grooves, tactile texture and sculpted detail to the forms you turn. Explore Kutzall tools for making bowls, vessels and decorative pieces unmistakably yours.

Choose your surface detail
Match the tool to your idea.
Match the profile to the mark you want to make, then check the shaft size for your power tool.

Carve flowing grooves
1/8″ shaft · Small rotary tools
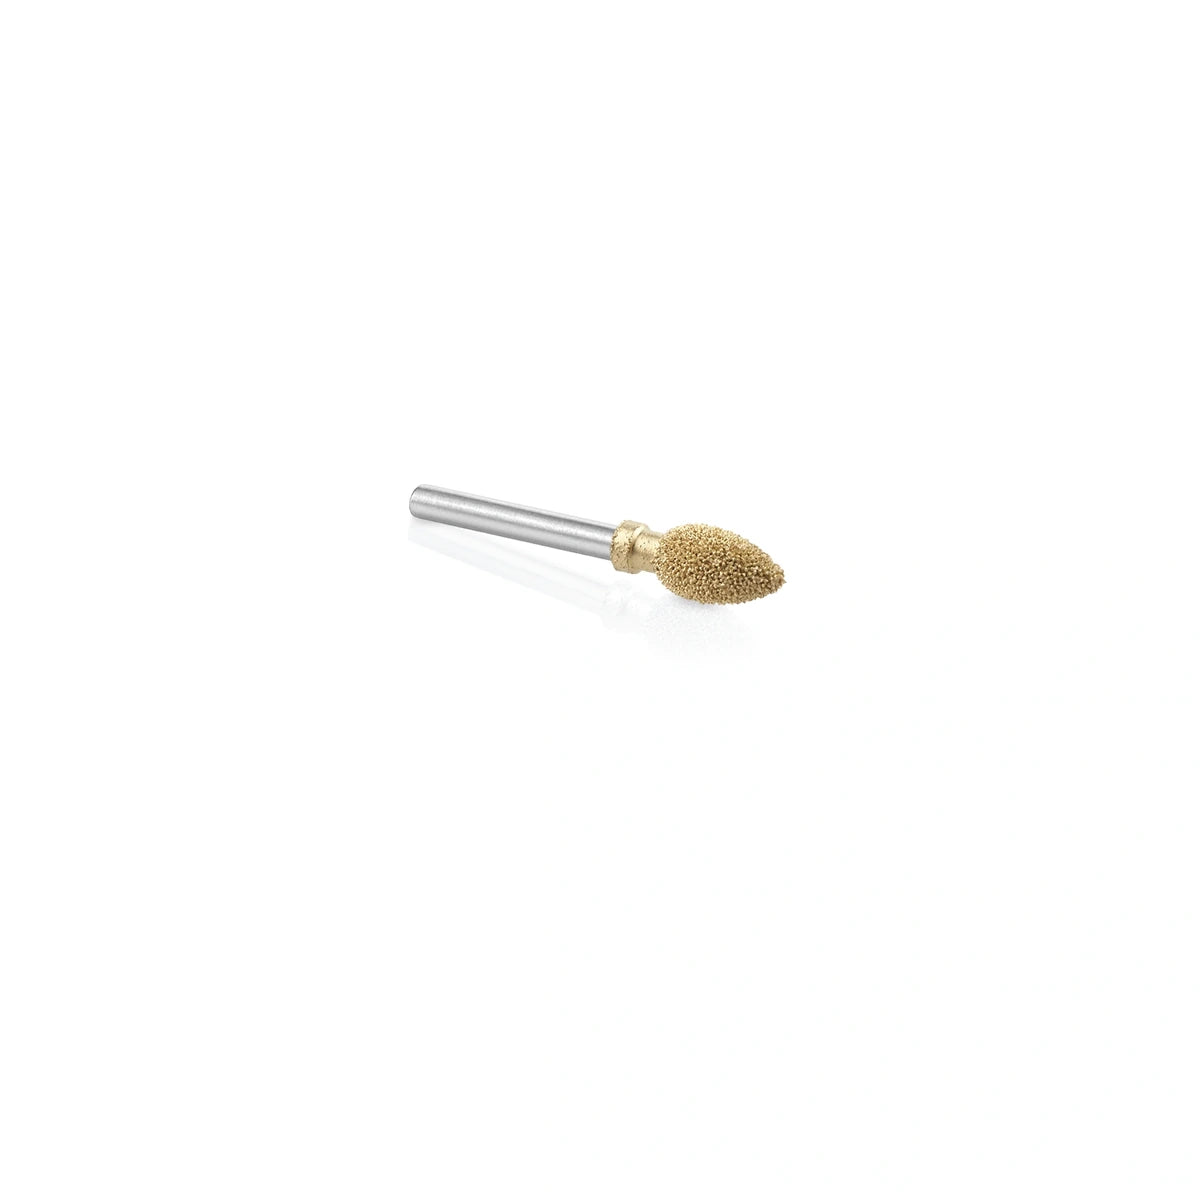
Use the Flame profile to shape curved recesses and blend decorative grooves.

Add rounded texture
1/8″ shaft · Small rotary tools
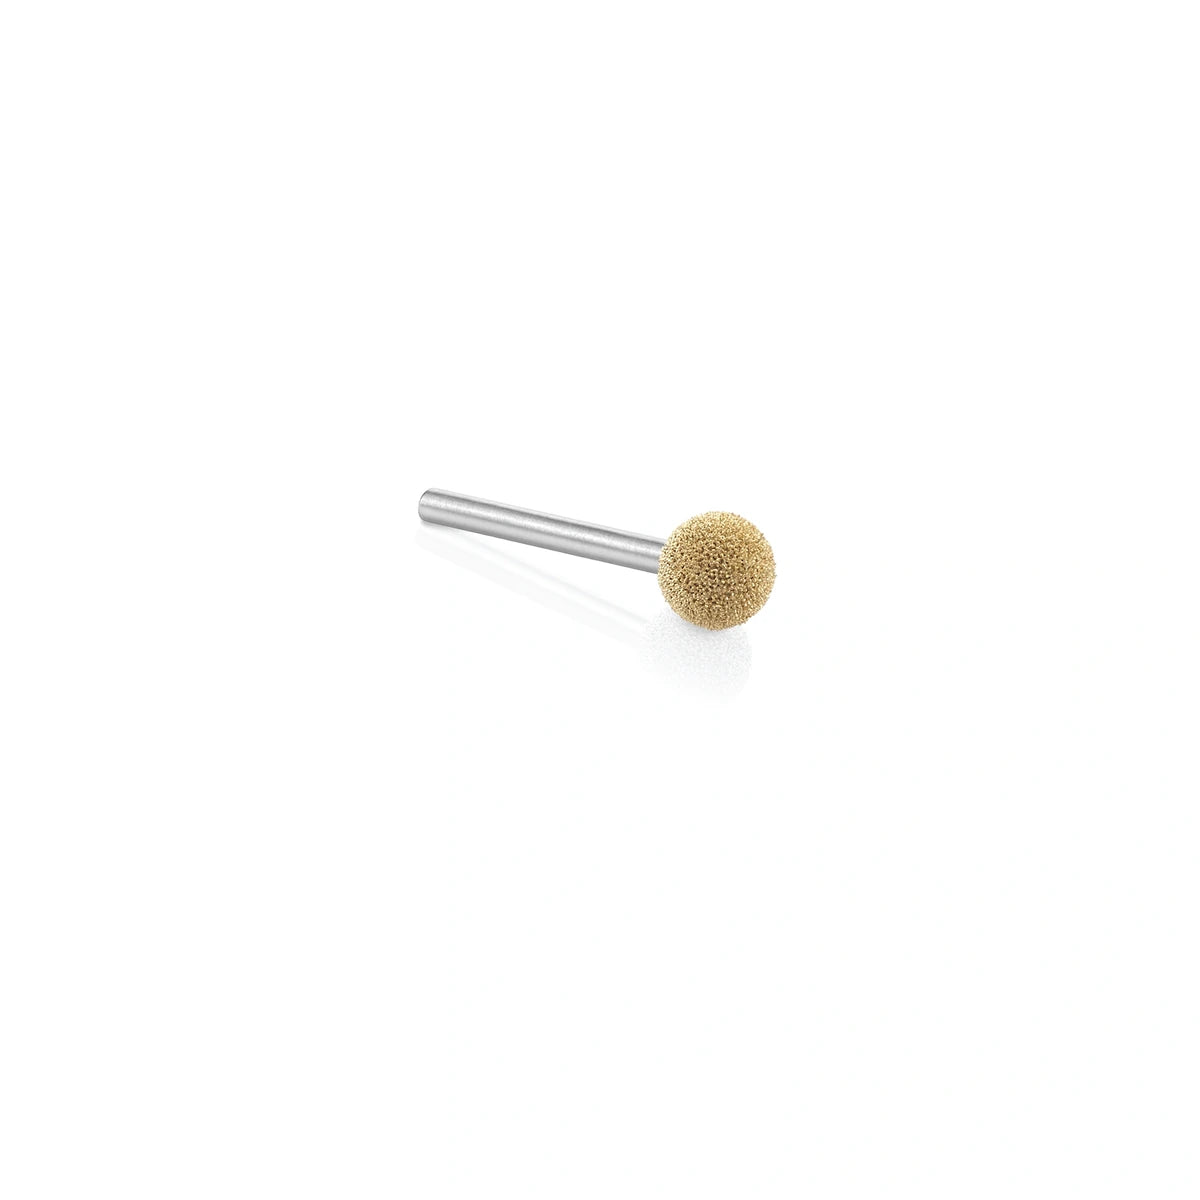
Use the Sphere profile for rounded marks, repeated dimples and textured bands.

Carve narrow grooves
1/8″ shaft · Small rotary tools
Explore decorative line work and narrow grooves with the Rotor Saw profile.
Shape broader contours
1/4″ shaft · Compatible die grinders + flex shafts
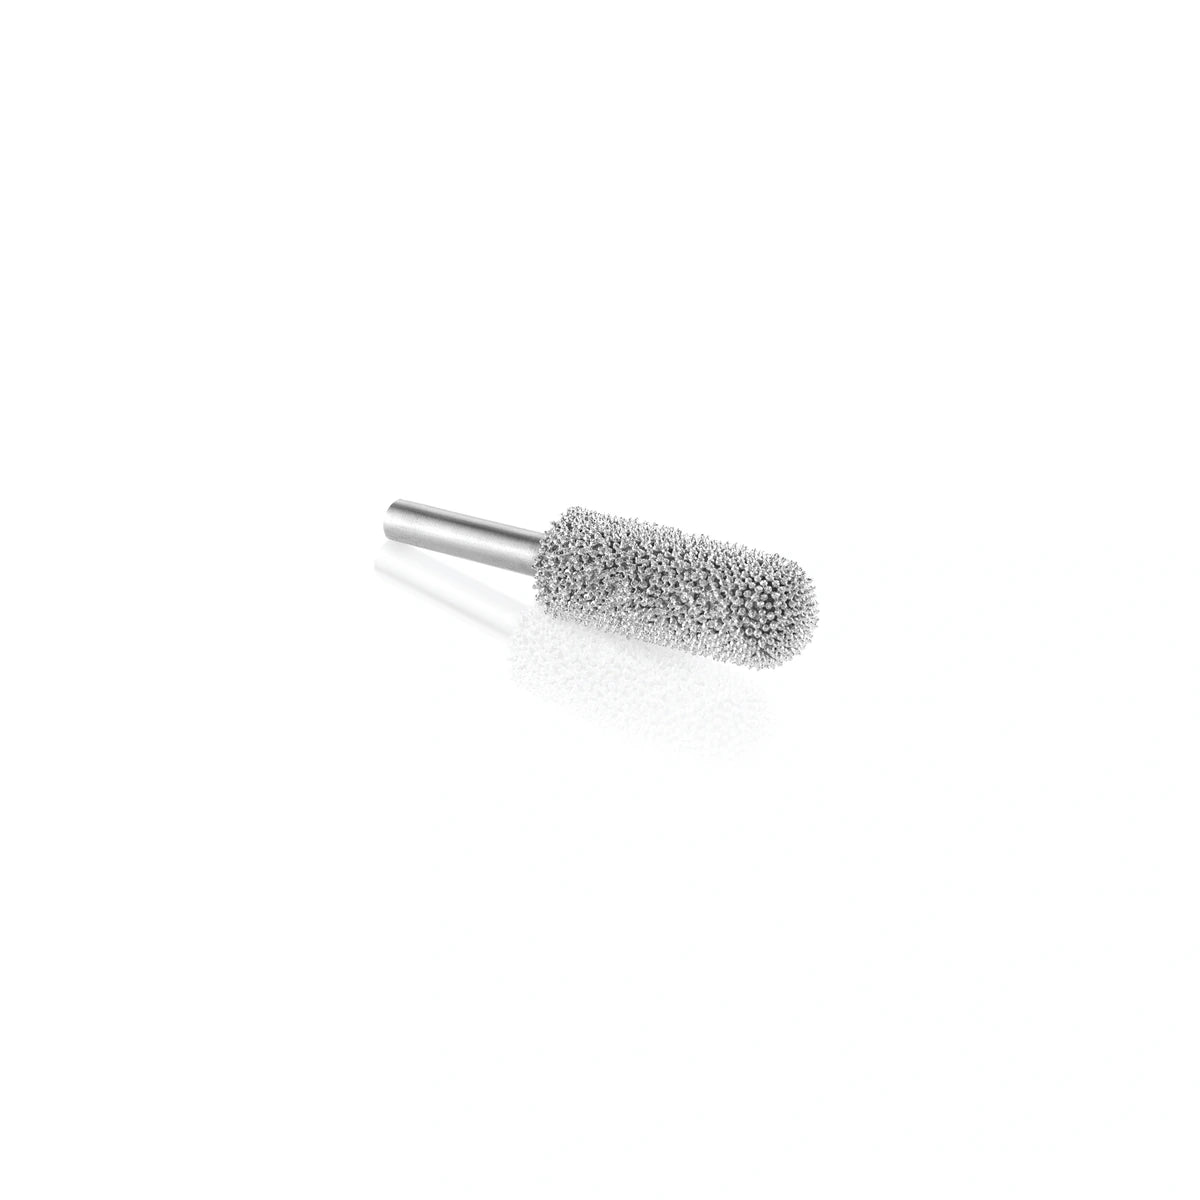
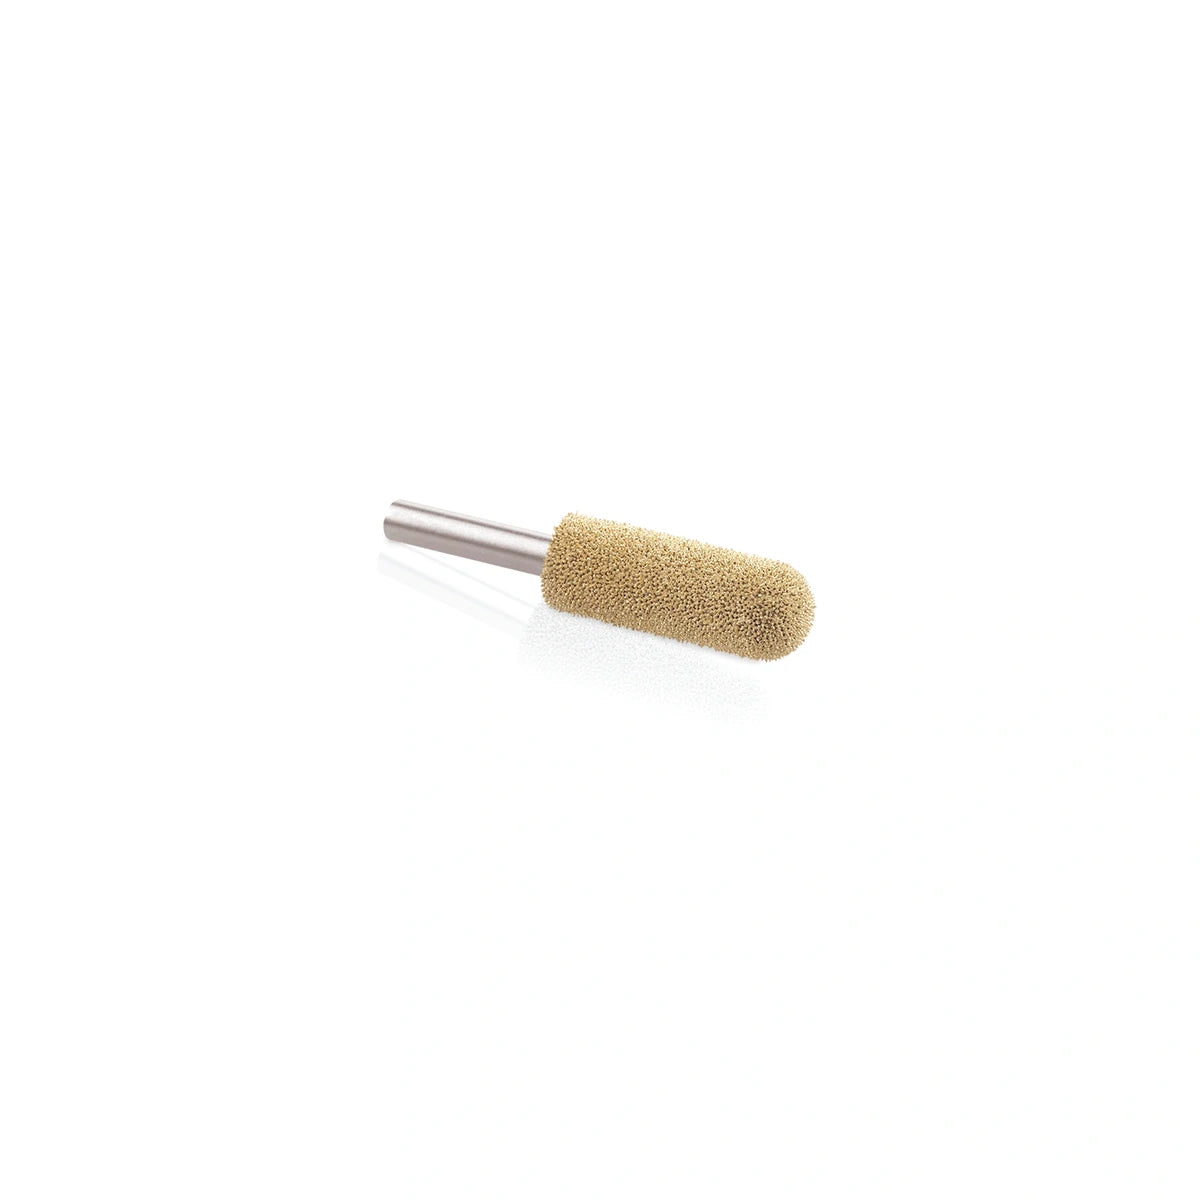
Use the larger Ball Nose profile to shape rounded contours and blend transitions.
Check the shaft before you choose.
Use 1/8-inch shaft burrs with a compatible rotary tool or flex-shaft. The larger 1/4-inch shaft burrs need a matching die grinder or flex-shaft collet. Shaft size is separate from head size; check both, along with the tool’s speed rating.
Check tool compatibilityBring your next idea to life
Tools for texture, detail + form.
Choose an individual profile for a specific task, or a variety kit to explore several shapes. Match the shaft size to your power tool.
Find your carving tool
Head: 1/4″ × 1/2″
Flame Burr
Flowing grooves, contours and sculpted detail.
Head: 3/8″ × 3/8″
Sphere Burr
Rounded dimples and repeated surface texture.
Head: 3/4″ × 1/8″
Rotor Saw Burr
Narrow grooves and decorative line work.

Head: 1/2″ × 1-1/2″
Ball Nose Burr
Broader contours and rounded transitions with a 1/4-inch setup.

5-Piece Variety Kit
Five shapes for exploring detail and texture with a 1/8-inch setup.
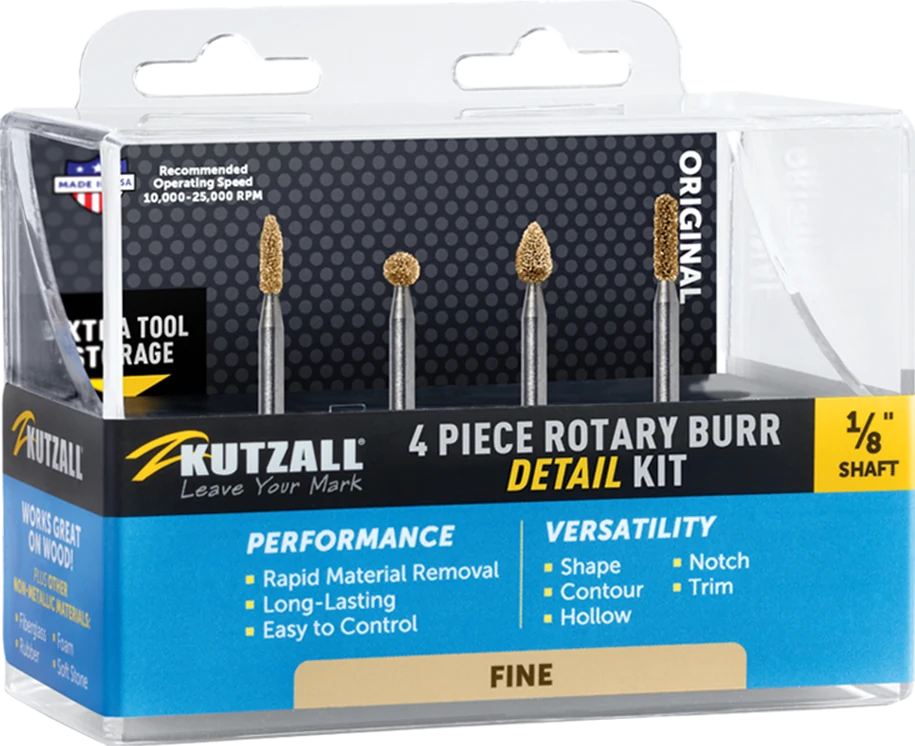
4-Piece Fine Detail Kit
Four small Fine-grade profiles for delicate texture and intricate details.
Made by woodturners
A turned form is just the beginning.
From a flowing spiral to a richly textured rim, see how makers give familiar forms a character of their own.

Flowing spirals
Cecilia Benecomo · @theshop_wooddesigns
Tactile texture
Greg Gallegos · @naturalselectionstudio
Sculptural detail
Scott Mueller · @scottmuellerwoodworksSwipe to explore all three projects →
Look closer
Small details. A whole new surface.
Vary the depth, direction and spacing of your carving to create rhythm across a bowl or vessel. Let the form guide the pattern.

Texture that follows the form
Greg Gallegos · @naturalselectionstudio
Depth that catches the light
Greg Gallegos · @naturalselectionstudioFrom the lathe to the carving bench
Establish the form. Explore the surface.
Turning establishes the basic form; power carving complements gouges and scrapers by adding texture, depth and sculptural detail that sanding alone cannot create. Refine rims, interior profiles and transitions, or plan a textured band or a few flowing grooves.
Start with the lathe stopped and the work securely supported, on the lathe or at the carving bench. Practice on an offcut and use light passes, especially around end grain and tighter areas. Check the form as you work, then sand the surfaces your design calls for.
Inside the studio with Greg Gallegos
See how Greg of Natural Selection Studio brings woodturning and power carving together.
Woodturning, answered
How does power carving complement woodturning?
Turning establishes the basic form. Power carving adds decorative grooves, textured bands, sculpted rims and other details to that form.
Which burr should I start with?
A Sphere Burr is a useful starting point for rounded texture; a Flame Burr suits flowing grooves and contours. A Variety Kit gives you several shapes to explore. Match the shaft size to your power tool before choosing.
Can I use these burrs in my rotary tool?
The featured 1/8-inch shaft burrs require a compatible 1/8-inch collet or chuck. The larger Ball Nose Burr and 1/4-inch Variety Kit require a matching 1/4-inch setup. Check the accessory and power tool instructions, including speed limits.
Is power carving beginner-friendly for woodturners?
Start with an offcut and one simple effect, such as a band of rounded texture. Support the work securely, use light passes and build confidence before working on a finished piece.
Should the lathe be running while I power carve?
Begin with the lathe stopped and the work securely supported. Carving a rotating workpiece is a specialist technique that requires appropriate instruction and a compatible setup. Follow the lathe, power tool and accessory manufacturers’ guidance.
Will I still need to sand?
Carving establishes the shape and surface character. Sand where your design and finish require it, taking care to preserve the texture and edges you want to keep.

