

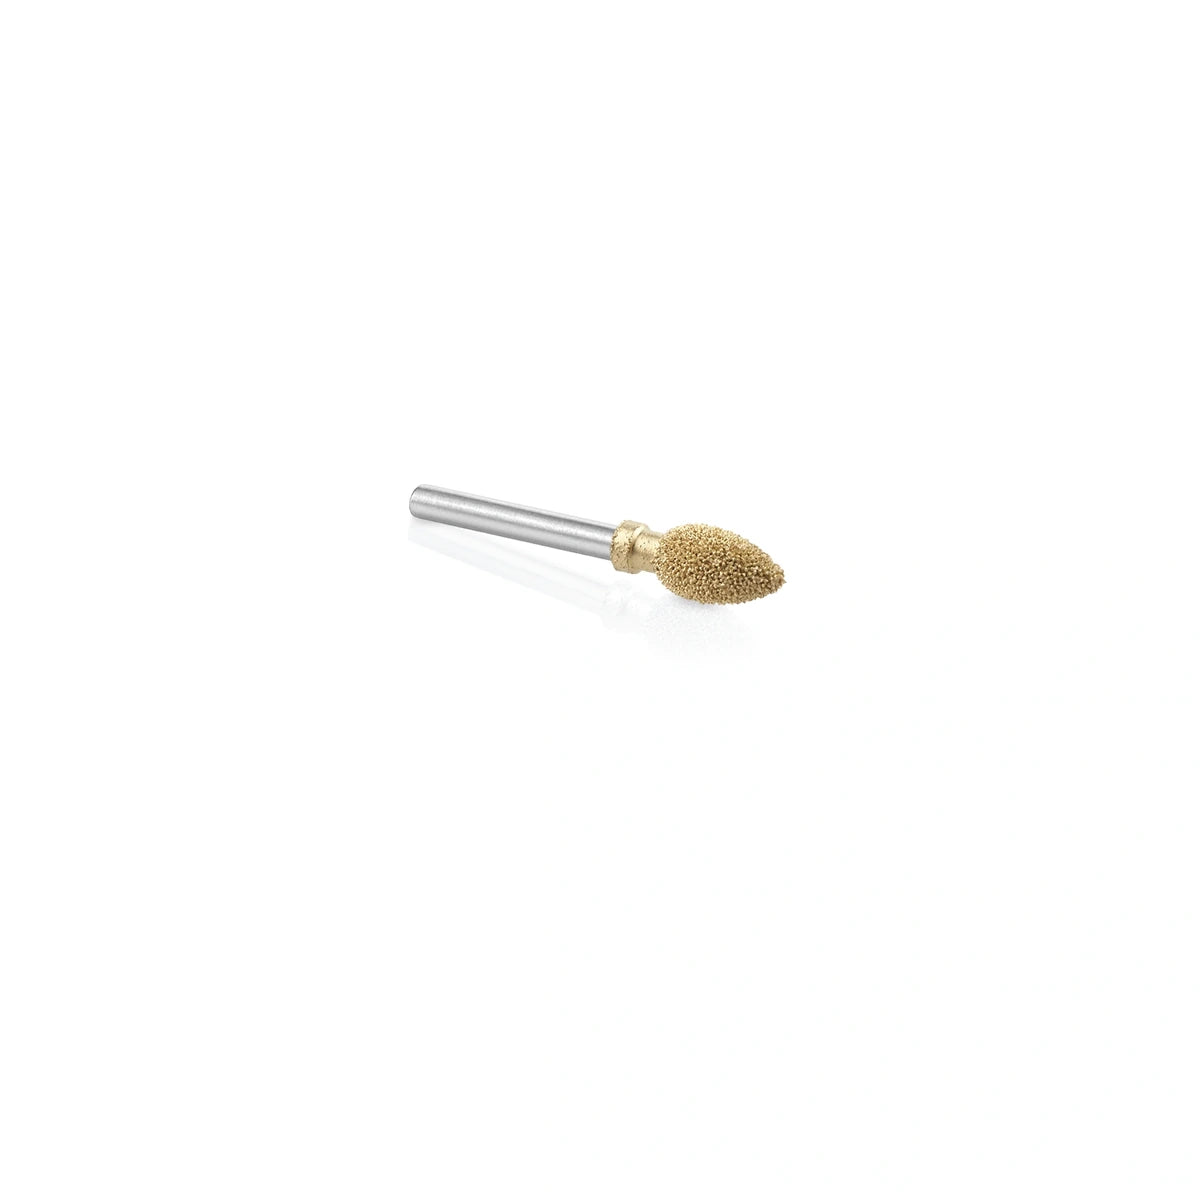

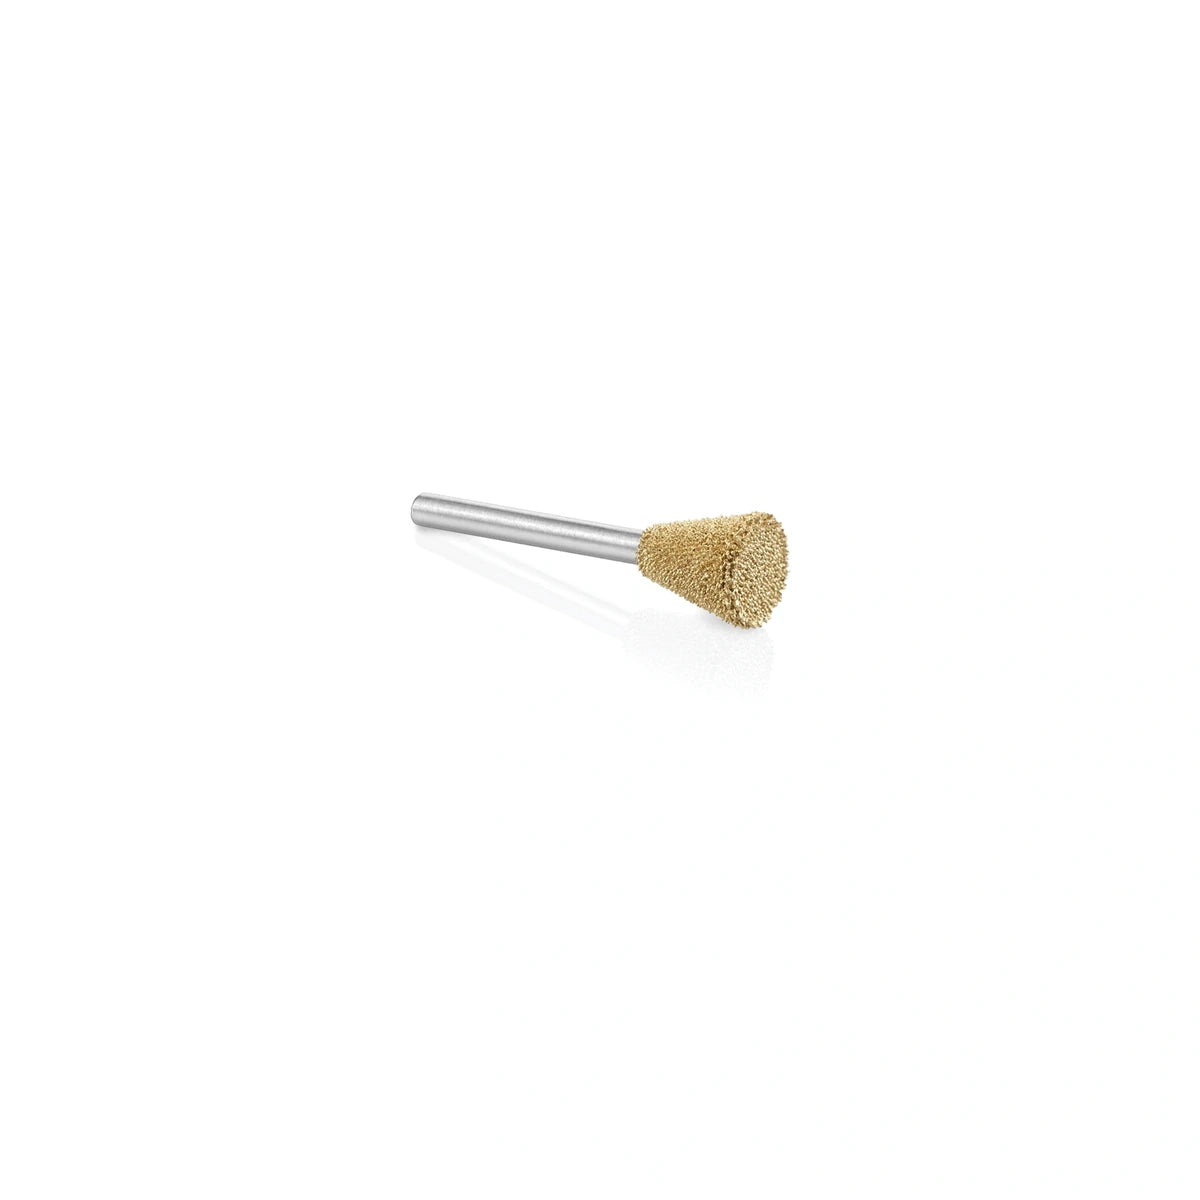
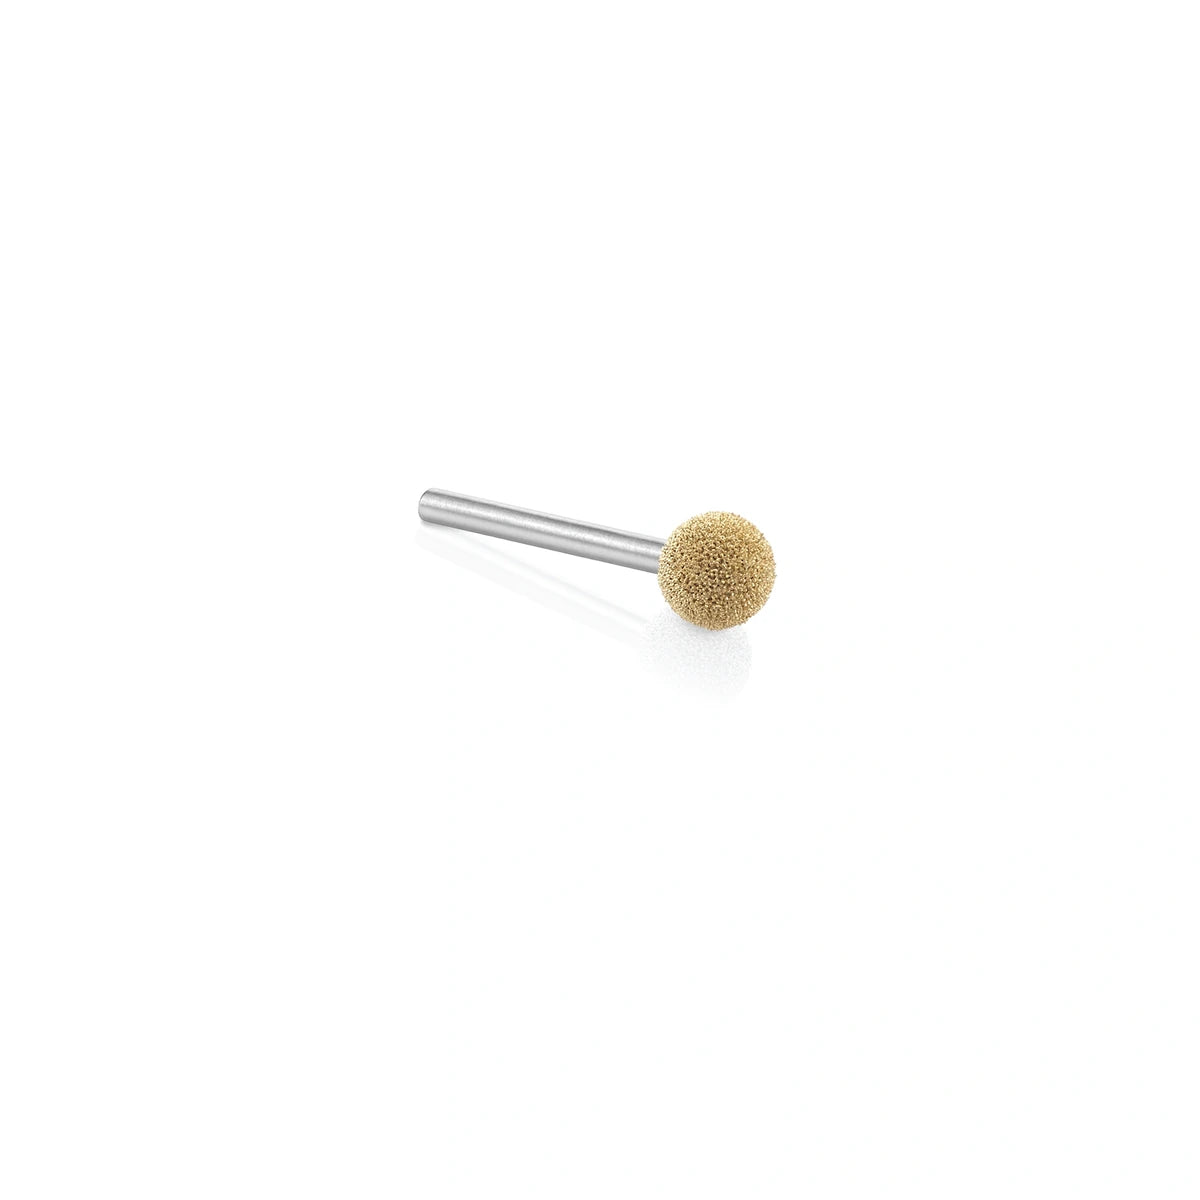

Give your patterns a new dimension
Carving Tools for Scroll Saw + Laser Projects
Cut the pattern. Carve the character.
Bring depth, texture and sculpted detail to scroll saw and laser-cut wood projects. From intarsia portraits to layered signs and wildlife art, Kutzall burrs help turn flat pieces into something people want to look closer at.

Start with the detail
Choose a burr for the detail.
Start with the feature you want to shape. These four options cover fine details, flowing curves, narrow grooves and rounded texture.
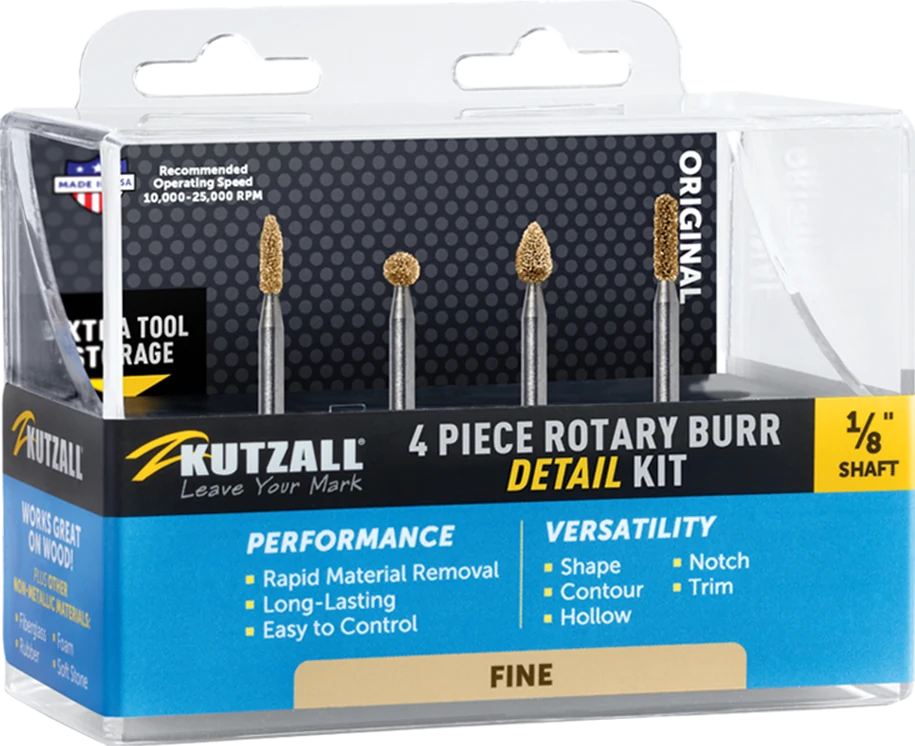
Carve fine features
1/8″ shaft · Small rotary tools + flex shafts
Use four small Fine-grade profiles to shape delicate features and add intricate surface detail.
Explore Fine Detail Kit
Blend curves + transitions
1/8″ shaft · Small rotary tools + flex shafts
Use the Flame profile to shape flowing contours and blend the surfaces around small details.
Explore Flame Burrs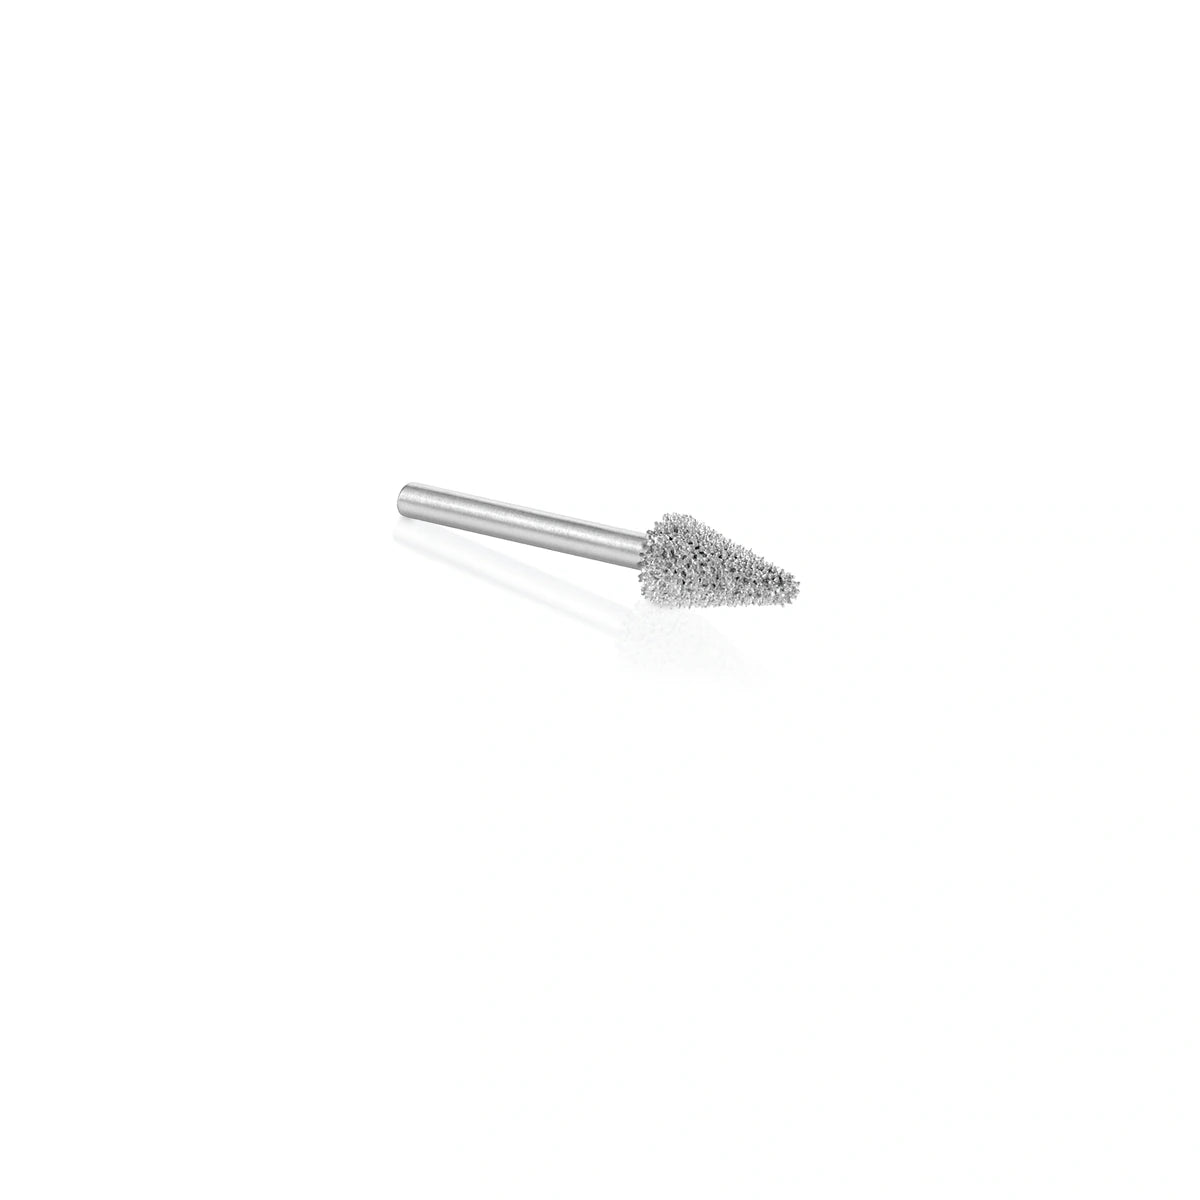
Reach narrow areas
1/8″ shaft · Small rotary tools + flex shafts
Use a Taper profile to work into tight spaces, define grooves and refine individual features.
Explore Taper Burrs
Add texture + recesses
1/8″ shaft · Small rotary tools + flex shafts
Use a Sphere profile for rounded recesses, dimples and texture in portraits, wildlife and decorative panels.
Explore Sphere BurrsCheck your setup
The products above use 1/8-inch shafts. Check that your rotary tool or flex-shaft handpiece accepts that shaft size, and follow the product and power-tool speed requirements. Support small parts securely and test your approach on an offcut.
Bring your next idea to life
Burrs for detail, texture + dimension
Compare 1/8-inch shaft burrs and kits for scroll saw, intarsia and laser-cut projects. Choose a profile for the area you want to carve, then select from its available tooth grades.
1/8″ shaft
Small rotary tools
Head: 1/4″ × 1/2″
Flame Burr
Rounded contours and flowing transitions in small sculpted forms.
1/8″ shaft
Small rotary tools
Head: 1/4″ × 1/2″
Taper Burr
Reach narrow areas and define grooves and fine features.
1/8″ shaft
Small rotary tools
4-Piece Fine Detail Kit
Four complementary Fine-grade shapes for controlled detail and refinement.
1/8″ shaft
Small rotary tools

Head: 3/8″ × 1/2″
Dove Tail Burr
Define edges, grooves and recessed details with a flared profile.
1/8″ shaft
Small rotary tools

5-Piece Variety Kit
Five complementary shapes in mixed grades for shaping and detail.
1/8″ shaft
Small rotary tools
Head: 3/8″ × 3/8″
Sphere Burr
Create rounded recesses, dimples and organic surface texture.
Made by the Kutzall community
Turn flat pieces into dimensional art.
See how makers shape individual intarsia segments, layered signs and portraits. Natural wood tones, carved contours and changing surface angles bring the composition to life.

Signs with a story
@thehouseoftimber
Characters with dimension
@carpentry_by_crystal
Small pieces, sculpted detail
@kendras_gotwood
Shapes ready for character
@erinnicoleco
Depth in every expression
@happylifewoodSwipe to explore all 6 projects →

Intarsia, layered signs + relief art
Carve depth into every detail.
Shape the contours
Round flat segments into sculpted forms that catch the light.
Add texture + expression
Create feathers, fur and facial details with controlled passes.
Refine the transitions
Blend accessible surfaces so the composition feels connected.
At the workbench
Shape before assembly. Refine with intention.
Carve individual pieces while you can still reach their edges and surfaces, then dry-fit them to check how the contours work together. Work with the grain and remove material gradually to preserve the fit, thickness and strength of delicate features.
After assembly, blend accessible transitions and add the final texture. Refine with a finer grade or hand tool, then sand where a smooth finish is wanted. For laser-cut edges, test light passes only where removing material will not change the intended fit.
Watch intarsia take shape
See how Steve Thompson of Happy Life Wood brings natural wood tones and sculpted detail together.
Scroll saw + laser carving, answered
Can beginners add power carving to scroll saw or laser projects?
Yes. Start with an offcut and a simple task, such as rounding an edge or adding light texture. Support the work securely, use light passes and build up to more detailed shaping as you gain control.
Which power tool do I need?
The six products on this page have 1/8-inch shafts and suit rotary tools or flex-shaft handpieces with a compatible collet or chuck. Confirm fit and operating speed against both the Kutzall product details and your power-tool instructions.
How do I protect thin or delicate pieces?
Support the piece close to the area being carved, keep pressure light and remove material gradually. Carving removes wood and can weaken thin sections, so test on scrap and preserve the thickness needed for the design. A hand tool or sanding may suit especially fragile areas.
Can I remove laser burn marks with a burr?
A burr can remove surface char where the design allows some material removal. Start with light passes on an offcut. Avoid changing fitted edges, thinning delicate parts or carving away engraved detail; sanding may be more suitable for light surface discoloration.
Should I carve before or after assembly?
Shape individual segments before assembly when that gives better access. Dry-fit them often to compare the contours, then refine accessible transitions after assembly as needed.
Does power carving replace hand tools or sanding?
No. Power carving develops the form and texture. Hand tools and rasps offer another way to refine details, and sanding prepares areas that need a smooth finish.

